Along with feeding and bathing, changing diapers is a fundamental task that new parents find themselves faced with multiple times a day. It might seem challenging at first, especially for first-time parents, but it’s a task that becomes routine with frequent practice.
Changing diapers is an essential aspect of maintaining a baby’s hygiene and comfort, as a wet or soiled diaper can lead to discomfort or even diaper rash, an irritating condition that can cause inflammation on the baby’s skin. In this comprehensive guide, we will take you step-by-step through the process, providing tips and tricks to make diaper changing a smooth and hassle-free experience.
Whether you’re a new parent, a grandparent, a babysitter, or anyone else caring for a little one, this guide is designed to instill confidence in your diaper-changing abilities. So, let’s dive right in because when it comes to diaper changing, every tip and trick helps.
Choosing Between Cloth diapers and Disposable Diapers
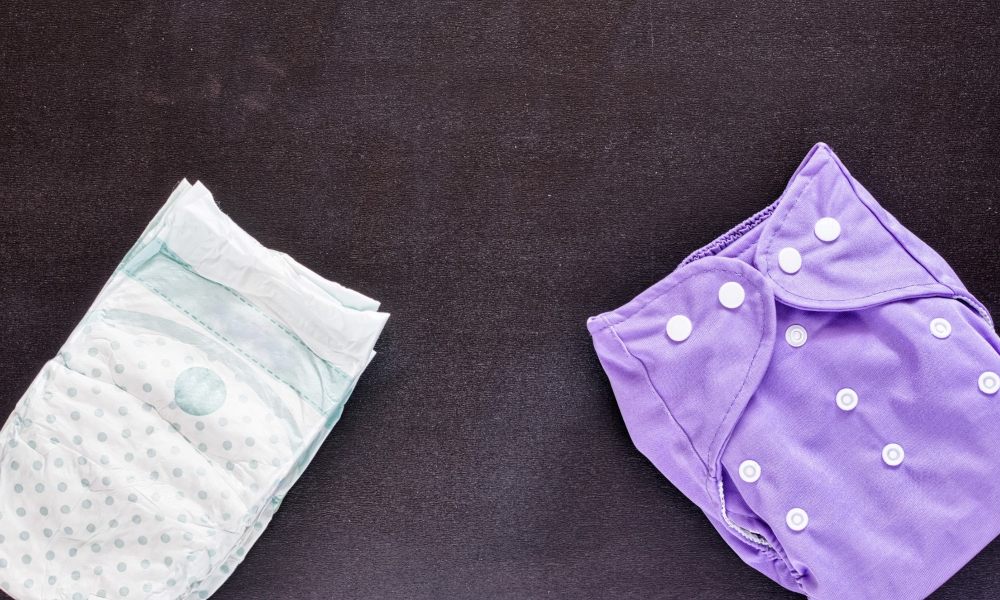
When it comes to diapering, as a parent you’re often faced with the choice between cloth diapers and disposable diapers. Both have their own set of advantages and disadvantages, and the decision ultimately rests on what works best for your child and your family.
Cloth diapers, for instance, are reusable and environmentally friendly. They require an upfront investment but can save money in the long run. Additionally, they are often considered more gentle on the baby’s skin. However, it should be noted that cloth diapers require more effort to maintain. Dealing with a dirty cloth diaper involves washing and drying, which can be time-consuming.
On the other hand, disposable diapers offer unparalleled convenience. They’re easy to put on, remove, and dispose of, making them a popular choice for many parents. A dirty disposable diaper can simply be thrown away, and a clean diaper can be put on the baby in no time. However, they can be more expensive over time and contribute to environmental waste.
Preparation before Changing a Diaper
1. Setting Up Your Diaper Changing Station
Before you start changing your baby’s diaper, it’s critical to have a well-organized changing station. The centerpiece of any diaper-changing station is the changing table. This is a special waist-high table that keeps your baby at a comfortable height for you to work with. Many changing tables come with built-in storage, which can be extremely handy for keeping your diaper supplies organized and easy to access.
2. Essential Items on Your Changing Table
On the changing table, you should have a comfortable changing pad for your baby to lie on. This not only provides a soft surface for your baby but also ensures that the table stays clean. Beside the changing pad, keep a stock of diapers and a container of baby wipes. Baby wipes are essential for cleaning the diaper area during changes.
3. Proper Disposal of Soiled Diapers
Next, you will need a diaper pail. This specialized trash can is designed to lock in the odors from dirty diapers, keeping your home smelling fresh. When you change your baby, the soiled diaper goes straight into the diaper pail. This not only makes cleanup quick and easy but also keeps any smells contained.
4. Ensuring Comfort and Cleanliness
Lastly, before you change your baby, you’ll want to have some diaper cream on hand. After cleaning the diaper area with a baby wipe, apply a small amount of diaper cream. This can help prevent diaper rash and keep your baby comfortable.
By setting up a well-stocked changing station, you make it much easier to change your baby. Having everything you need at hand means you can change your baby quickly, which is great because babies don’t like to stay still for long!
Step-By-Step Guide To Changing A Diaper
1. Identifying a Wet Diaper
Before you jump into changing your little one’s diaper, it’s essential to identify when there’s a need for changing. The front of the diaper usually provides an accurate indication of whether it’s time for a fresh diaper. Some diapers feature a wetness indicator that changes color when the diaper is wet, making it easy even for first-time parents and caregivers to know when it’s time for a change.
2. Keeping Diapers and Wipes Ready
Now that you’ve identified a wet diaper, it’s time to gather your supplies. You’ll need a fresh diaper and wipes for this process. It’s a good practice to keep these essentials stocked in your diaper bag so you’re always prepared, whether you’re at home or on the go. Having a diaper wipe at hand before you start is crucial as it aids in cleaning the baby efficiently.
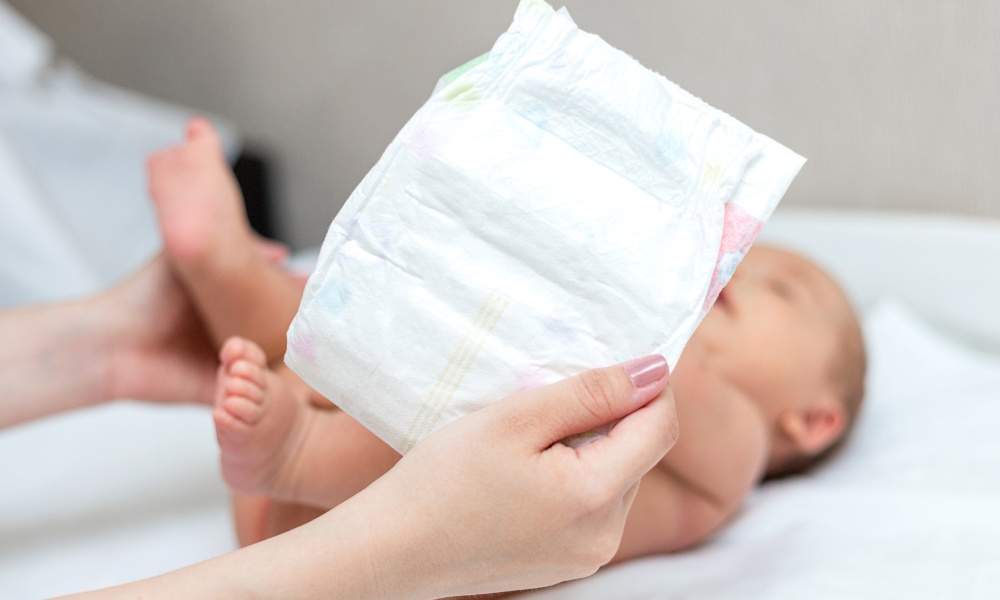
3. Removing the Wet Diaper
Start by laying your baby gently on the changing table or a safe, flat surface. Unfasten the dirty diaper, but don’t remove it just yet. It may be helpful in catching any extra mess that might occur during the changing process. Use a diaper wipe to clean your baby’s bottom. Always wipe from front to back to avoid any infection.
4. Applying Diaper Cream
Once you’ve thoroughly cleaned your baby with a diaper wipe, it’s time to apply the diaper rash cream. Diaper cream creates a barrier between the baby’s skin and the diaper, helping to protect the sensitive skin from moisture and reducing the risk of diaper rash.
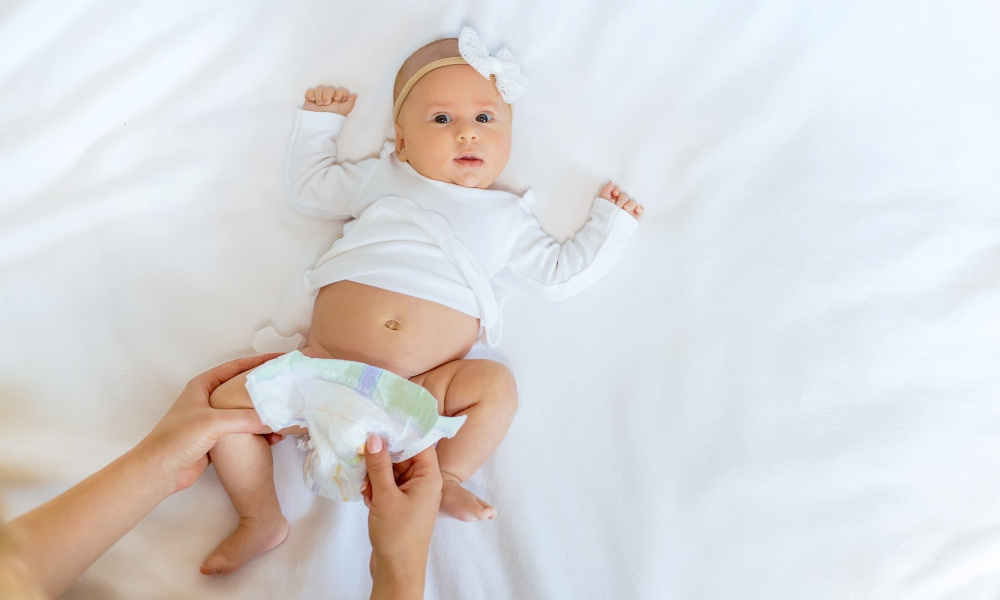
5. Putting on a Fresh Diaper
After you apply the diaper cream, lift your baby’s bottom off the table by gently holding the ankles and slide the fresh diaper underneath. The back of the diaper should be in line with your baby’s waist. Be sure to double-check that the front of the diaper is centered and covers your baby fully for maximum comfort and protection.
6. Securing the Diaper
Now that you’ve positioned your baby in the fresh diaper, it’s time to secure it. Pull the front of the diaper up to your baby’s belly and open the tabs. Secure the tabs on the front of the diaper, making sure it’s snug but not too tight. Always double-check to ensure the diaper isn’t too loose or too tight, which could lead to leaks or discomfort.
7. Final Check and Cleanup
Once you’ve securely fastened the diaper, give a final check to see everything is in place and comfortable for your baby. After ensuring your baby is happy and secure, dispose of the wet diaper and used diaper wipes in a diaper pail or a garbage bin. Washing your hands thoroughly after the diaper change is crucial to maintaining hygiene.
How To Deal With Diaper Rash?
1. The Importance of Diaper Rash Cream
When it comes to baby care, diaper rash cream should be in every parent’s arsenal. This essential product creates a protective barrier between your baby’s delicate skin and the diaper, helping to avoid the discomfort of diaper rash.
Not only does it soothe existing rashes, but it also prevents new ones from forming. Consequently, it’s an item you should always keep on hand to ensure your baby’s comfort.
2. Fastening the Diaper Correctly
One crucial aspect of changing diapers is knowing how to fasten the diaper correctly. Improper fastening could lead to leaks or could be uncomfortable for your baby. It’s essential to ensure the diaper is snug but not too tight, giving your baby the freedom to move without discomfort. Remember, your baby’s comfort is paramount, and a well-fastened diaper contributes significantly to that.
3. Dealing with a Poopy Diaper
Changing a poopy diaper can be a daunting task, especially for new parents. However, there are ways to handle this situation efficiently. First, have a new diaper and plenty of baby wipes at the ready before you start the process. Then, clean your baby thoroughly, always wiping from front to back to avoid infections. After that, apply the diaper rash cream before putting on the new diaper.
Diaper Changing Tips and Tricks
1. Wound Care
Wound care is a vital aspect of diaper changing to keep in mind. As such, it’s crucial to understand how to ‘prevent diaper rash, as this condition can cause discomfort for your baby. One effective method for preventing diaper rash is frequent diaper changes.
By changing your baby’s diaper often, you can keep the skin clean and dry, reducing the likelihood of rash development. When removing the dirty diaper, be gentle to avoid causing any unnecessary abrasion that could exacerbate any existing irritation.
2. Safety
Safety is of paramount importance when it comes to changing diapers. The process involves ‘removing the dirty diaper,’ which needs to be done with care to avoid any potential accidents. Always ensure that you have a firm grip on your baby during the entire process, particularly when lifting them to slide a fresh diaper underneath.
3. Comfort
Ensure that the diaper is not fastened too tightly. While it’s important to prevent leaks, a diaper that is overly tight can put pressure on your baby’s stomach, potentially causing discomfort and increasing the likelihood of spitup. Additionally, tight diapers can trap moisture and cause friction, both of which can contribute to diaper rash.
Frequently Asked Questions – FAQs
1. How often should I change my baby’s diaper?
It’s recommended to change your baby’s diaper every two to three hours or as soon as it is soiled. This helps keep the baby’s diaper area clean and dry, reducing the risk of diaper rash.
2. What’s the correct way to fold the dirty diaper?
After removing the dirty diaper, fold it inward so that the mess is contained within. Then, roll it into a ball-like shape, and secure it with the fasteners. Dispose of it in a plastic bag to contain the odor.
3. Can a baby get upset during diaper changes?
Yes, the baby may get upset or fussy during diaper changes. Keeping a calm environment and engaging the baby with a soothing voice or a toy can help ease their discomfort.
4. When should I apply diaper ointment?
Apply diaper ointment during every diaper change to create a barrier between your baby’s skin and potential irritation from moisture or friction. This helps prevent diaper rash and keeps the baby’s diaper area healthy.
5. How do you properly wipe your baby’s diaper area?
Always wipe your baby’s diaper area from front to back. This helps avoid the spread of bacteria and reduces the chance of infection. Never leave your baby unattended on the changing table during this process.
Final Thoughts
Learning how to change your baby’s diaper is a handy skill for you as a new parent or caretaker. It’s a process that requires attention to detail to ensure the baby’s comfort, and most importantly, hygiene. So I highly recommend you always make sure the diaper isn’t too tight or loose to prevent leaks or discomfort.
Remember, your baby’s safety is paramount, and a well-adjusted diaper plays a significant role in that. By keeping these tips in mind, you can ensure that your baby remains clean, dry, and happy, reducing the risk of diaper rash and other discomforts. With practice, you’ll become proficient in this essential aspect of baby care.
Shop Related Products